Cloudflare positions itself as a CDN with DDoS protection. A CDN – is a decentralized system of servers located in different geographic regions to provide fast access to data for that region.
By using this load-distribution technology, CloudFlare reduces loading times through data caching. A large volume of traffic passes through their servers, which is easy to manage, cache and deliver to the right place, while reducing the load on the server's bandwidth.
In addition, Cloudflare provides resilience against hardware failures, decentralized data delivery, DDoS protection and security optimization.
What do you get by connecting CloudFlare?
The main advantage of CLoudFlare is page loading speed. For search engines and site visitors this is quite an important factor, increasing authority and loyalty.
- CloudFlare compresses css, Http and Js files;
- During loading, image sizes are optimized without loss of quality;
- Data caching without using .htaccess.
By connecting CLoudFlare you will speed up your site and also protect it from all kinds of threats, break-ins, attacks and viruses.
As a bonus, you get an SSL certificate, provided free of charge.
Along with it comes DNSSEC protection - this technology minimizes attacks via unencrypted queries by using digital signatures.
For CMS-based sites, protection via a WAF firewall is provided.
How to connect CloudFlare to your website?
1. You need to register on the official website https://www.cloudflare.com/
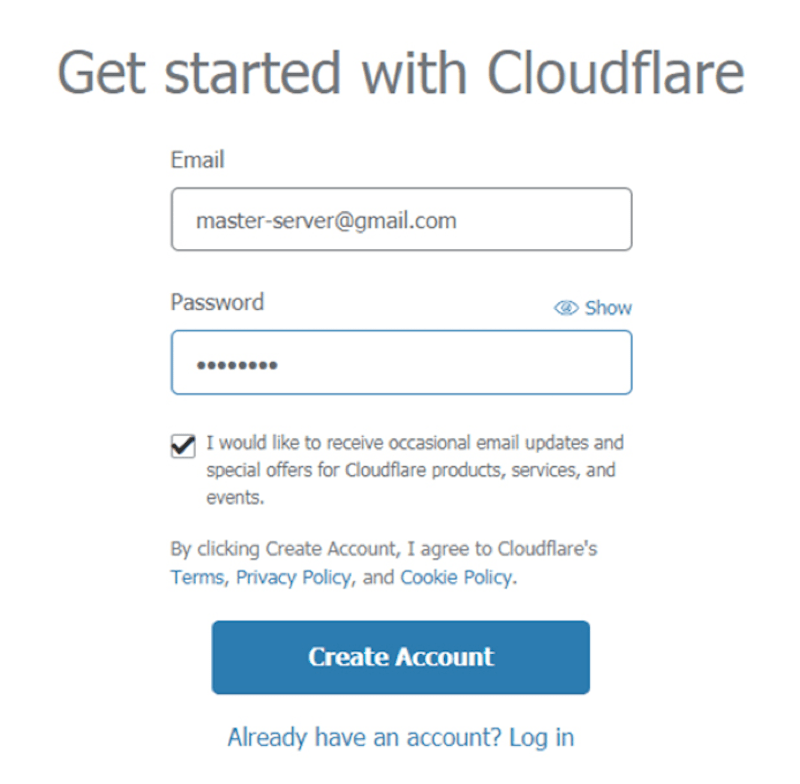
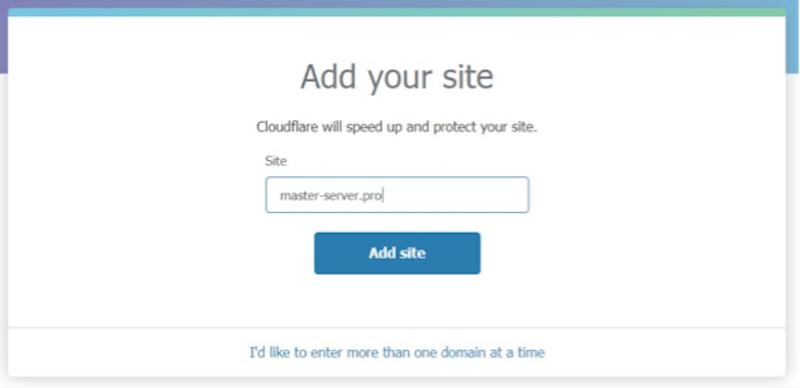
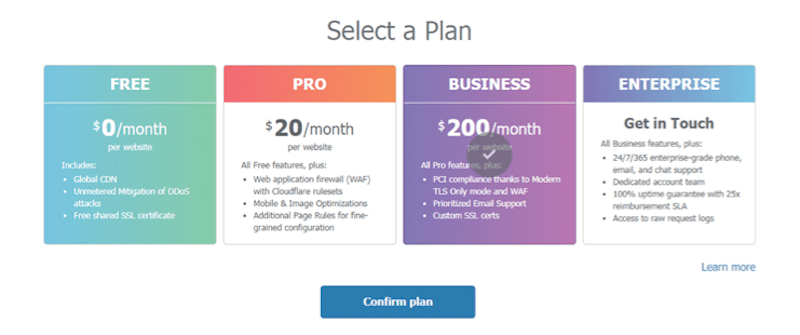
2. Add the domain of the desired site via Add Site to the platform's database and run a scan with Continue. The system then performs a full analysis of the site's data and reads the DNS records. Before the scan completes, you need to choose the most suitable pricing plan. To test how well CloudFlare works, you can initially use the free plan.
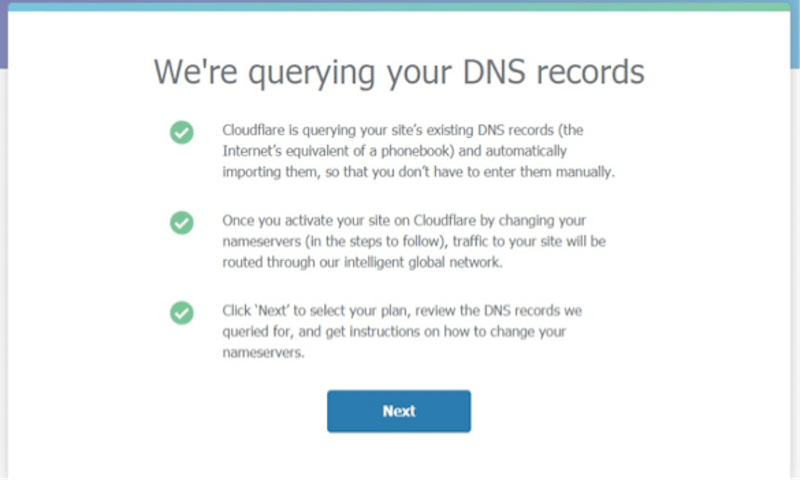
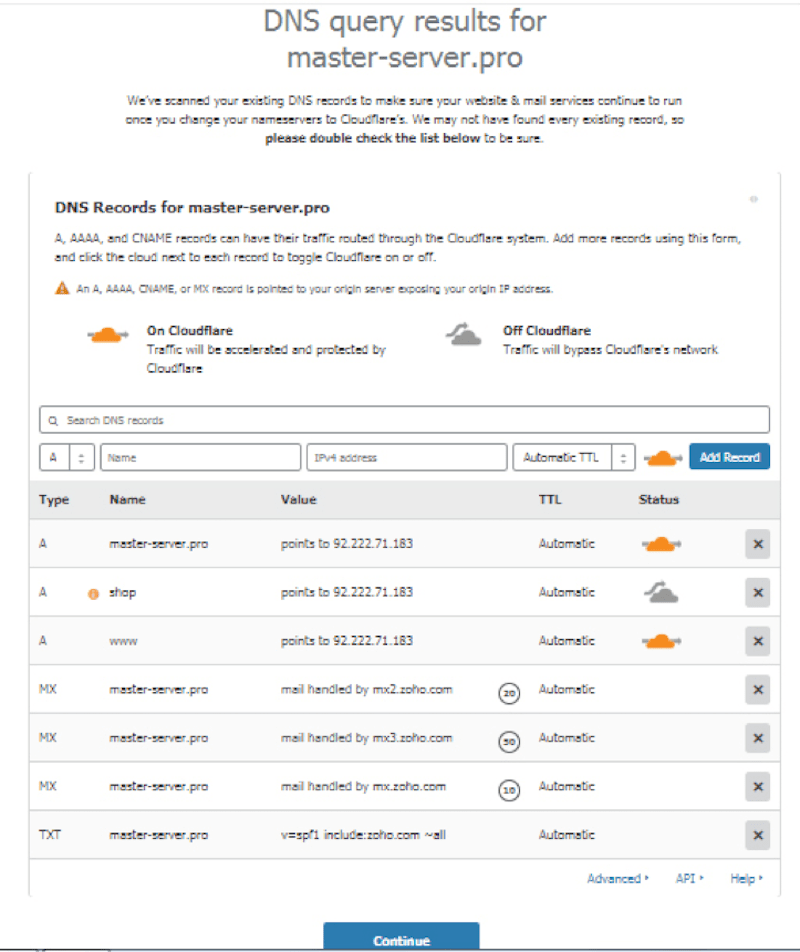
3. After the scan you will see all NS records and traffic already covered by CLoudFlare protection and caching, shown as an orange cloud. Next, you need to change the nameservers at your domain registrar to the new ones. In your domain control panel, set the corresponding new names in the correct order.
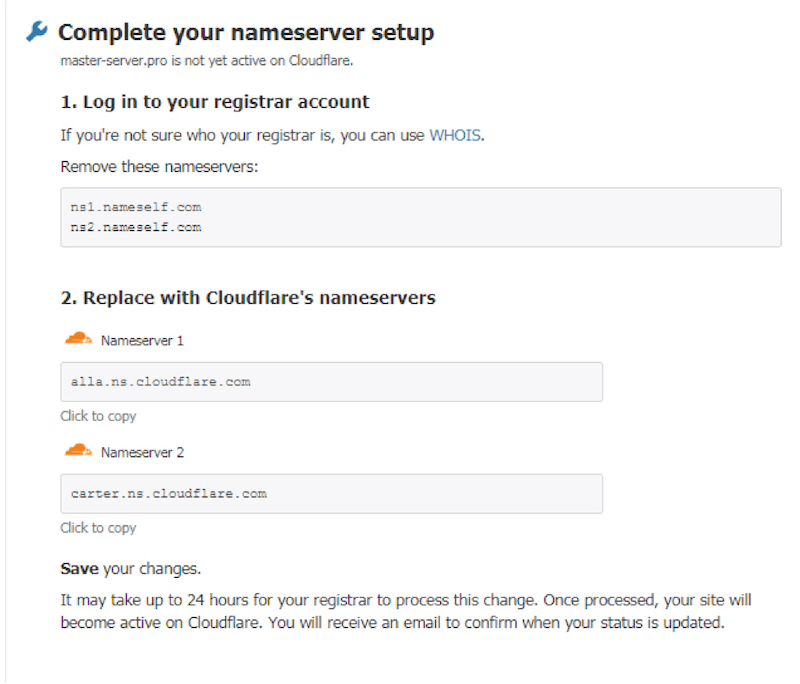
4. Within a few hours the system will report that the site is active in the ClouFlare CDN and that the settings are correct.
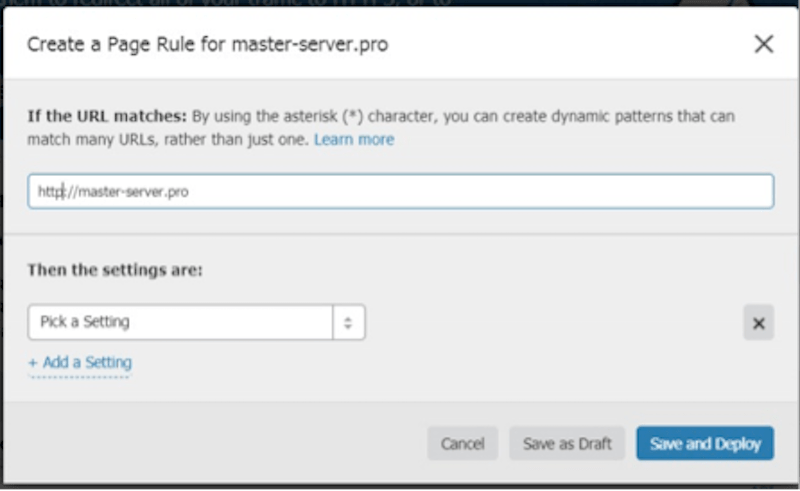
5. Also, 24 hours after the SSL certificate is activated, you can set up redirection from the insecure protocol to https in the Page Rules section. In Pick a Setting choose – Always use Https
How to disable caching in CloudFlare
CLoudFlare caches the information on the site, so when css styles or images change, users will not see the changes right away. To temporarily disable caching, go to the "Caching" settings, enable "Development Mode" and click "Purge everything" - this disables caching for 3 hours.
If you need to disable caching permanently, go to "Page Rules", then add a rule specifying the domain or path to the page you do not want cached, for example: *shop.master-server.pro/* then choose "CacheLevel - Bypass" and then click "Purge everything" again in the "Caching" menu.