When configuring servers, experienced system administrators (admins) use the «command line»; the solution for less experienced people is control panels, which come with a clear interface and are easy to administer.
CPanel – is one of the most widely used panels for managing a website or web hosting on Linux systems. That is, CPanel only works with Linux-family operating systems: CentOS, Debian, Ubuntu, FreeBSD and others. By purchasing a license for this panel, you get simplified tools for working with files, databases, domains, email, analytics, security and other Linux OS applications.
The file management module makes it easy to upload documents to the server without using an FTP client. Besides the file manager, the panel also lets you create data backups.
If you use a CMS to manage your site's content, an essential element in CPanel is database management: phpMyAdmin, MySQL, whose interface is also greatly simplified when working in this environment.
When we talk about managing a hosting account through CPanel, we often also mean using WHM (web hosting management), since they come as a single package during installation.
Before installing, check the system requirements:
- A clean server (recommended)
- Preferably 2 GB of RAM or more
- 20 GB of disk space or more
- A CPanel license
- A fully qualified domain name and a standard hostname
It is also important to know:
– The program has no uninstaller, so removal has to be done manually
– Before making a final decision, you can try it free for 15 days
Installing Cpanel using CentOS 7 as an example
1. Cpanel was built on Perl, so make sure it is present. To install it, log in as the root user and enter in the command line:
# yum install -y perl
2. You also need to enter the fully qualified domain name, but it can be corrected after the full setup. For example, server – is the hostname, and the rest – is the domain name
# hostname server.example.com
3. The installation takes a relatively long time, so to prevent unexpected interruptions you should use the screen program, which, for example in case of a poor internet connection, will keep the process from stopping
# yum install wget screen -y
4. After installation, start a clean session and name it cPanel Installation
# screen -S cPanel Installation
5. Now the procedure for installing the latest version of the cPanel/WHM panel itself
# wget -N http://httpupdate.cPanel.net/latest
6. And for the DNS-only version:
# wget -N http://httpupdate.cPanel.net/latest-dnsonly
7. After downloading the package, run the installation script
# sh latest
Some useful commands for controlling the process through screen: detach – and resume, respectively:|
- control-a-d
- screen -r
Logging into the interface and configuring Cpnal
1. CPanel is now fully installed and we can proceed to the main server settings.
To log in, use your login and password via the server's IP address and port 2087
Enter in the browser http://SERVER_IP:2087
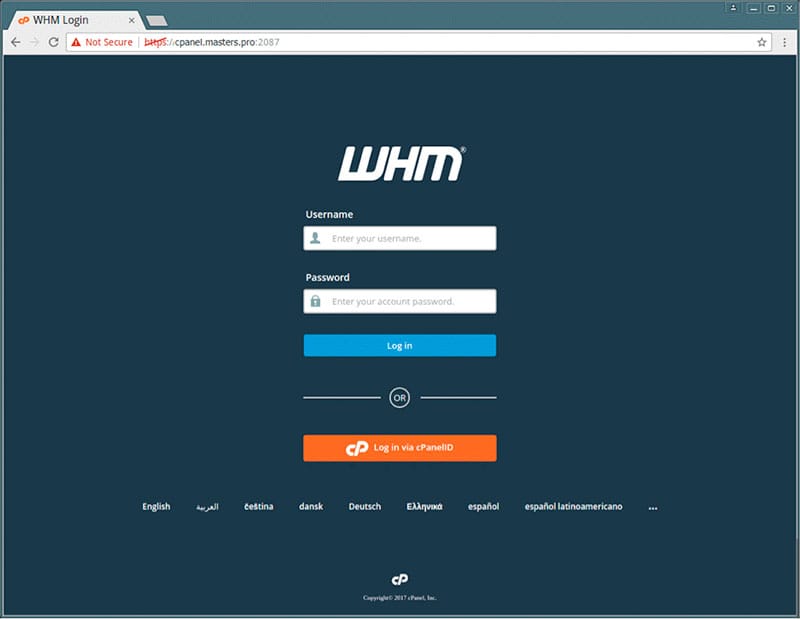
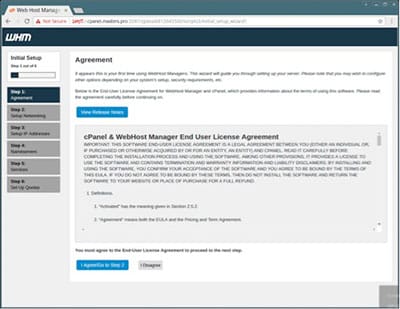
2. Accept the terms of use with the "I agree/Go to Step2" button
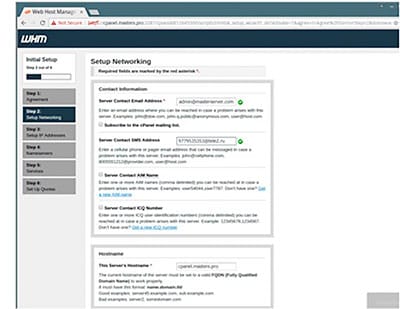
3. In the next step you configure Setup Networking, where you need to enter the following details:
- An active email address they will use to contact you if problems arise with the server
- In the second field, enter a phone number with the operator's prefix
- It is mandatory – to specify the exact fully qualified hostname «Hostname»
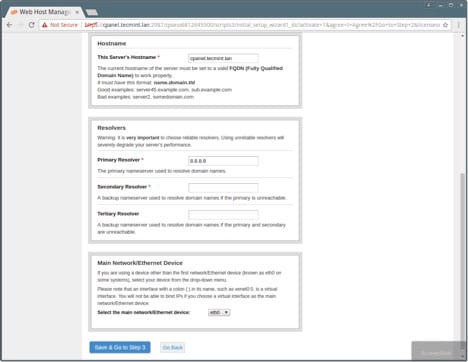
4. In the next section, «Resolvers», the program fills in «Primary Resolver» «Secondary Resolver» – automatically with data provided by your internet provider. Alternatively, you can use Google's public DNS. Then select one of Main Network or Ethernet Device and move on to the next step
5. Here you can add one or more static IP addresses belonging to the server and choose one of them as the main one in the drop-down list.
Then move on to the fourth step «Go to Setup 4»
«Nameservers Configuration» offers you a choice of several types; the recommended one – is Bind. If DNS queries are not needed inside the local network, choose the Disabled option.
NameServer is used for fast delegated processing of requests to the server.
So fill in the two required fields accordingly, leave the «Add A Entries in a Hostname» checkbox ticked, add the server's IP address at the end, and move on to the fifth step
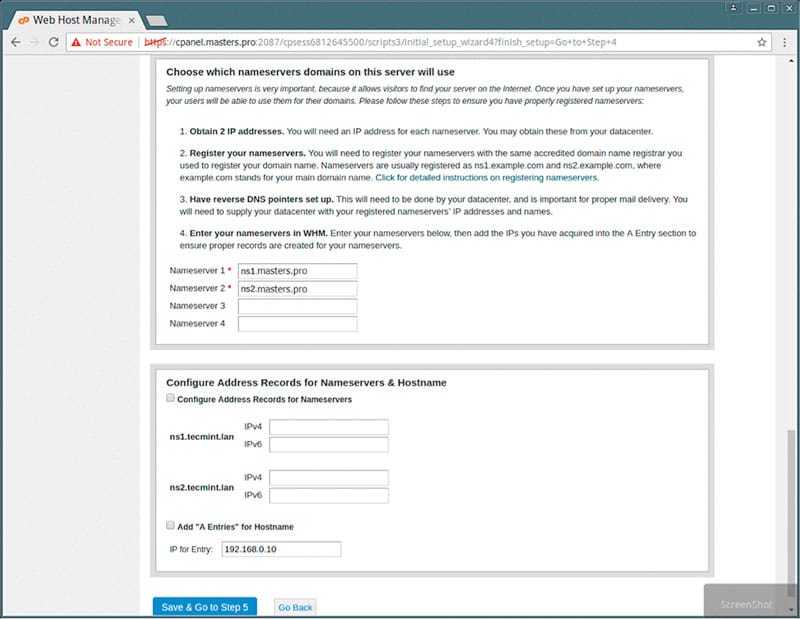
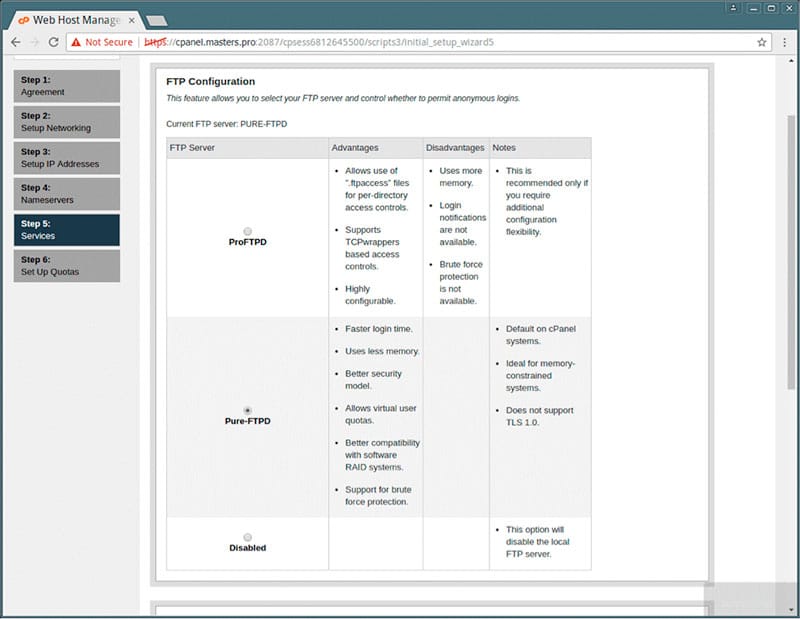
6. In this part of the setup you can configure the services as you see fit. For the FTP server it is recommended to use Pure-FTPD or to disable the local FTP server.
For the mail server it is recommended to use Dovecot, so you can freely manage the emails in your account.
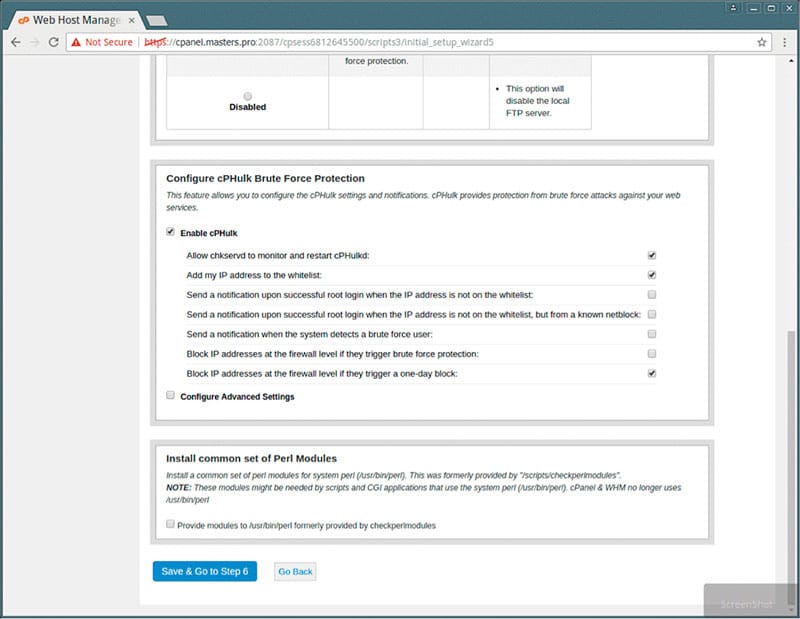
8. The security section «Cphulk brute force protection» lets you block the IP addresses of devices that repeatedly tried to crack the server password, along with other access-protection features; then «Save and go to Step 6»
9. In this step you can set quotas to track your users' disk space usage
10. Once the installation and configuration are complete, you will have a CPanel ID through which users can get access to the platform. Simultaneous login from multiple devices is also possible (this feature is configurable).
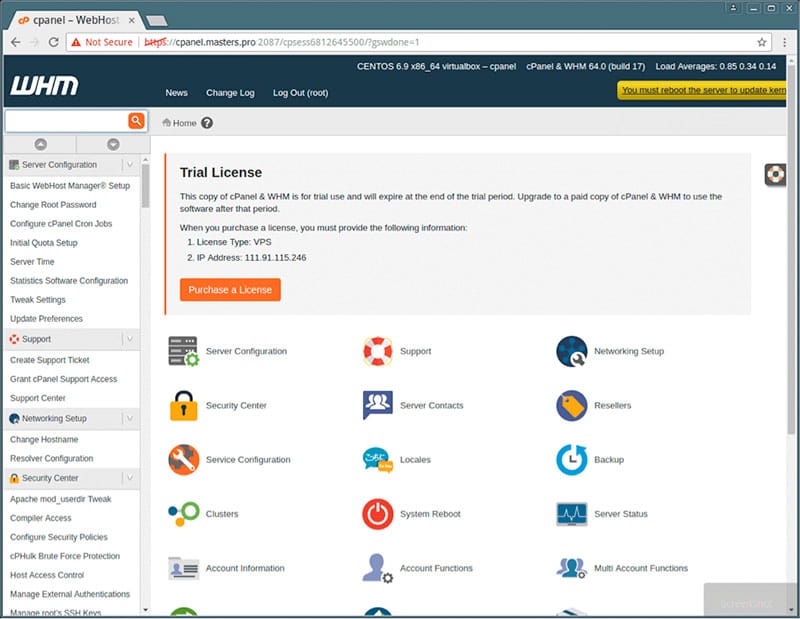
Welcome to the CPanel/WHM main screen, where all available configuration options are shown in the left-hand menu. Quick access is available through the search. To fully master the platform's capabilities, you will need time and practice.